performance · materials · hero article
How Minimalism helps Optimization
Good performance is about doing less to achieve more, with a practical example
What is minimalism in game optimization?
Minimalism isn’t a careless reduction of quality, as some might imagine. Rather, it’s more of a mindset integrated into your workflow, a guide for respecting the hardware while creating wonderful video games. Optimization is all about doing less work. The most optimized code is the code that doesn’t have to be written, and the second best is the code that does the minimum necessary work to achieve the desired result.
The pollution of minimalism
Back in the early 2000s, social media had far less influence on how video games were made than it does today. Streamers, reviewers, gameplay channels, and online groups didn’t have a strong presence. From where I stand, studios leaned more on direct, raw feedback from testing groups, and passion led more of the creative process. Today, it often feels like game studios build around hype, and what they create is less of a game and more of a product.
The cost
Take the laziest approach to realistic graphics: crank everything to the maximum and call it a day. This is how many video games are being built today, even when it’s not necessary, and even when fun and enjoyment aren’t driven by it. In return, you get video games that can demand 8GB or more of VRAM, insanely large install sizes, and frame generation tech just to hit a playable frame rate. This is not a limitation of our technology. Rather, it’s the result of following the wrong goals, bad practices, and a polluted development pipeline.
How minimalism helps solve those issues
I think of minimalism as two questions. It’s as simple as that from the outside. The first is: “What’s the smallest amount of hardware I could sacrifice to get this piece of the game implemented at an acceptable level of quality?” The second is: “What’s the best approach I could take to achieve the implementation?”
A door does not need a 4K texture unless the player can actually get close enough to see it. A UI element update doesn’t need to run every single frame. A 3D model that takes 2% of screen space doesn’t need to have 5,000 triangles, and tiny triangles are also inefficient for the GPU to rasterize. To the player’s eyes, the millimeter details on that door’s texture are unnoticeable. The tiny features on that small model won’t be admired. But the hardware pays for it upfront while screaming for air at 2400 RPM.
A practical example
This might not apply to every scenario, but it could give you some inspiration. I wanted to create sagging wires hanging between roofs. The engine offers me a fully simulated cable component ready to use, but memory allocation for hundreds of scene components, real-time simulation, and being forced to trick those cables into sagging was not an attractive approach. So I thought: what is a cable anyway? It’s a cylinder, curved toward the middle, and it has a start and an end.
Step 1: The mesh
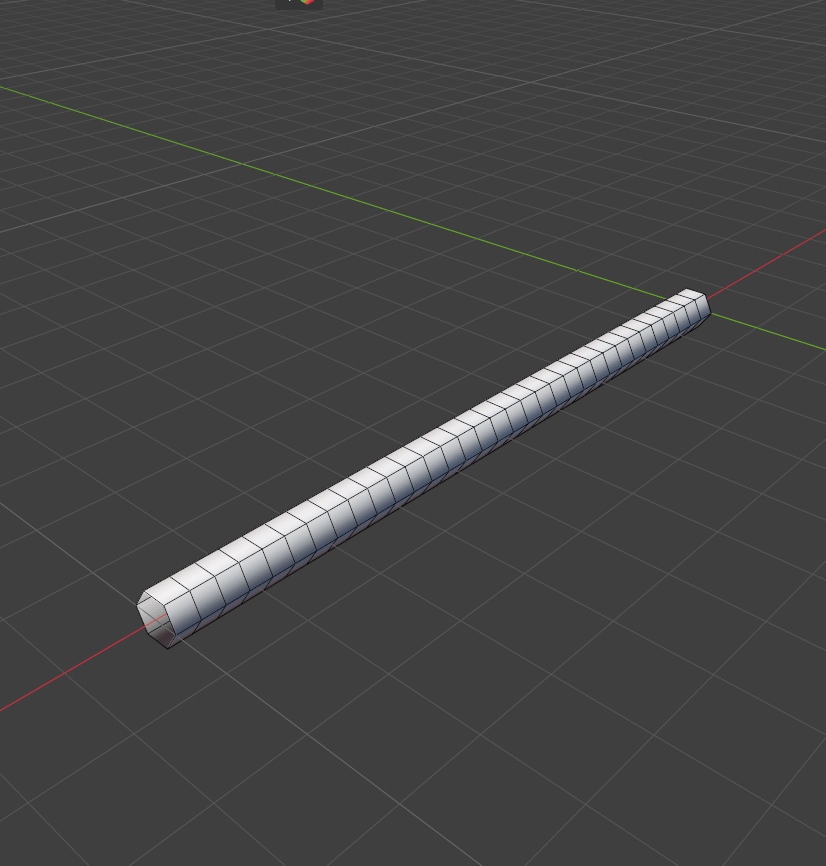
I made a pipe with just 32 rings along its length and only 6 sides around its circumference, which comes out to roughly 370 triangles per cable. After shade-smooth, it looks perfect:
Step 2: The gradient
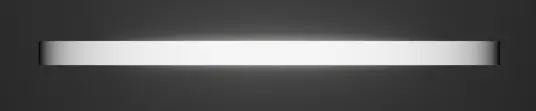
In the material, I gave it a calculated gradient, using a simple formula that relies on the instance-local position, the per-instance local bounds and the Parabola formula to get a smooth curve instead of a v shape
Step 3: The sag
Then I used that gradient value, multiplied by a strength factor, to control the vertex global Z-offset of the mesh.
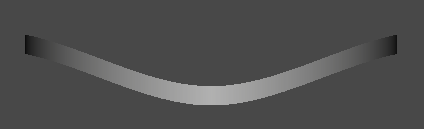
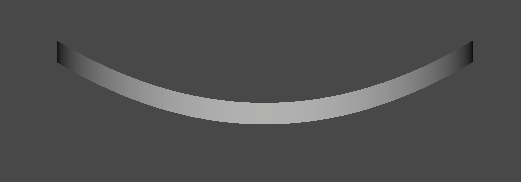 if I used a power or a smooth-step function the result would've looked unrealistic because that gradient won't be a smooth curve:
 **Step 4: The sway**
For a swaying motion, I used a modulated sine wave driven by the time factor to push those vertices left and right along the local Y axis, with respect to the previously made gradient.
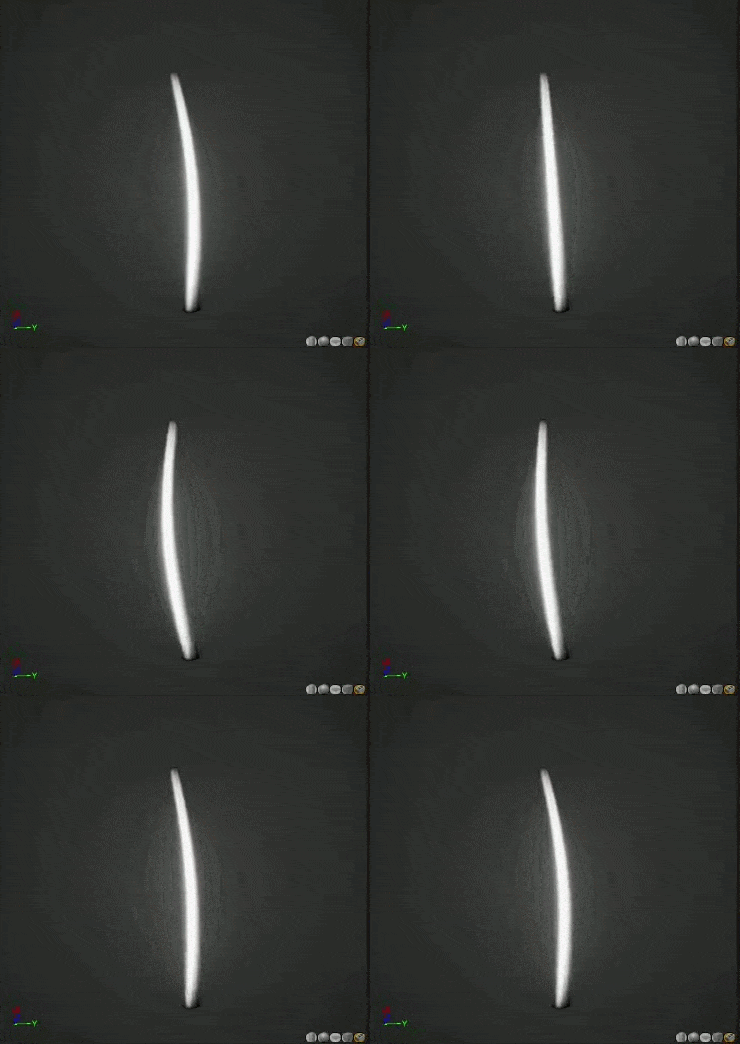
Step 5: The length
I multiply the sag amount by the local length of the mesh along its forward vector, which is X in that instance. This is important because longer cables are heavier in the middle, which means they sag more.
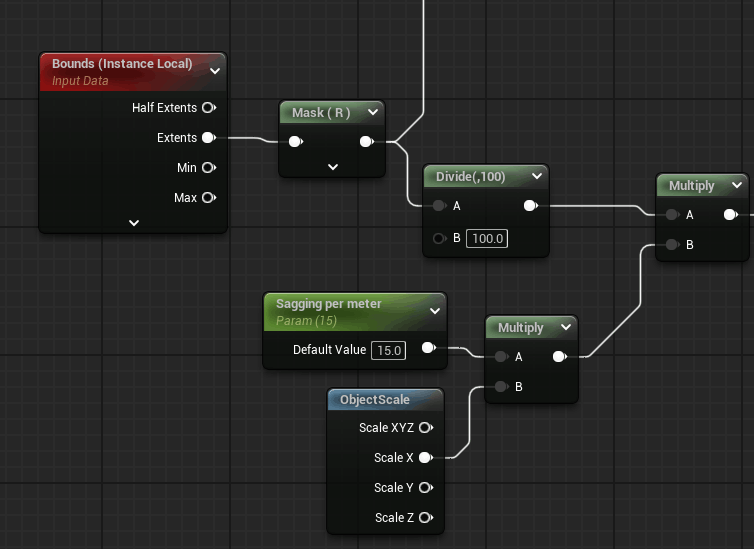
Step 6: The placement
Finally, I use instanced meshes to reduce draw calls. Each cable is positioned at point A, rotated towards point B, and scaled along its X axis by the distance between the two points.
One limit worth knowing: this is a purely visual trick. These cables have no collision and don’t react to the player, so it only fits cables that are decoration. As always, measure on your target hardware before committing to it.
Conclusion
There’s more than one approach to good-looking games, and often we overestimate how much of it we need. Overall, good-looking visuals aren’t what make a game fun and enjoyable to play, so it’s not fair to go over budget on something that contributes so little. It matters, but only to a point. It’s not a matter of whether we do it or not, but how we do it. That’s the interesting part.